iSCSI network protocol allows remote access to physical or logical devices. In the DFIR domain, it is primarily used for imaging drives that are soldered into a motherboard, working servers that couldn’t be turned off, or devices for which you have legal warrant to access but not seize. In the enterprise segment, iSCSI also could help with replication of an image to multiple computers over a network.
However, to expose a physical or logical drive via iSCSI on a network, you need to set up an iSCSI target correctly. And that is a tedious, multi-step task. To help you with that, we created a Python script named iscsi-targets. As its name suggests, the script automatically creates iSCSI targets for all drives except for a boot device.
— Download iscsi-targets from GitHub —
How it works
As the script was designed to work either independently or in conjunction with Atola imagers, it has a couple useful features:
- To save you time when filling up case details, the script makes sure that the iSCSI Qualified Name (IQN) of every iSCSI target includes the drive model and serial number. When you add such an iSCSI target in Atola imagers as a source drive, imager’s software pulls the drive model and serial number from IQN into a case.
- Not necessarily you expose all drives, you can also specify a block device as a script argument to create an iSCSI target for it.
By the way, we have tested the script on multiple Linux distros:
- latest Ubuntu, Fedora, RHEL
- older CentOS versions
- DFIR images, including: Sumuri Paladin, Tsurugi Linux, Caine Linux
The example below shows the first run of iscsi-targets.py on Paladin. It has added 3 iSCSI targets for SATA and USB drives in the blink of an eye.

Automated iSCSI target creation in Paladin
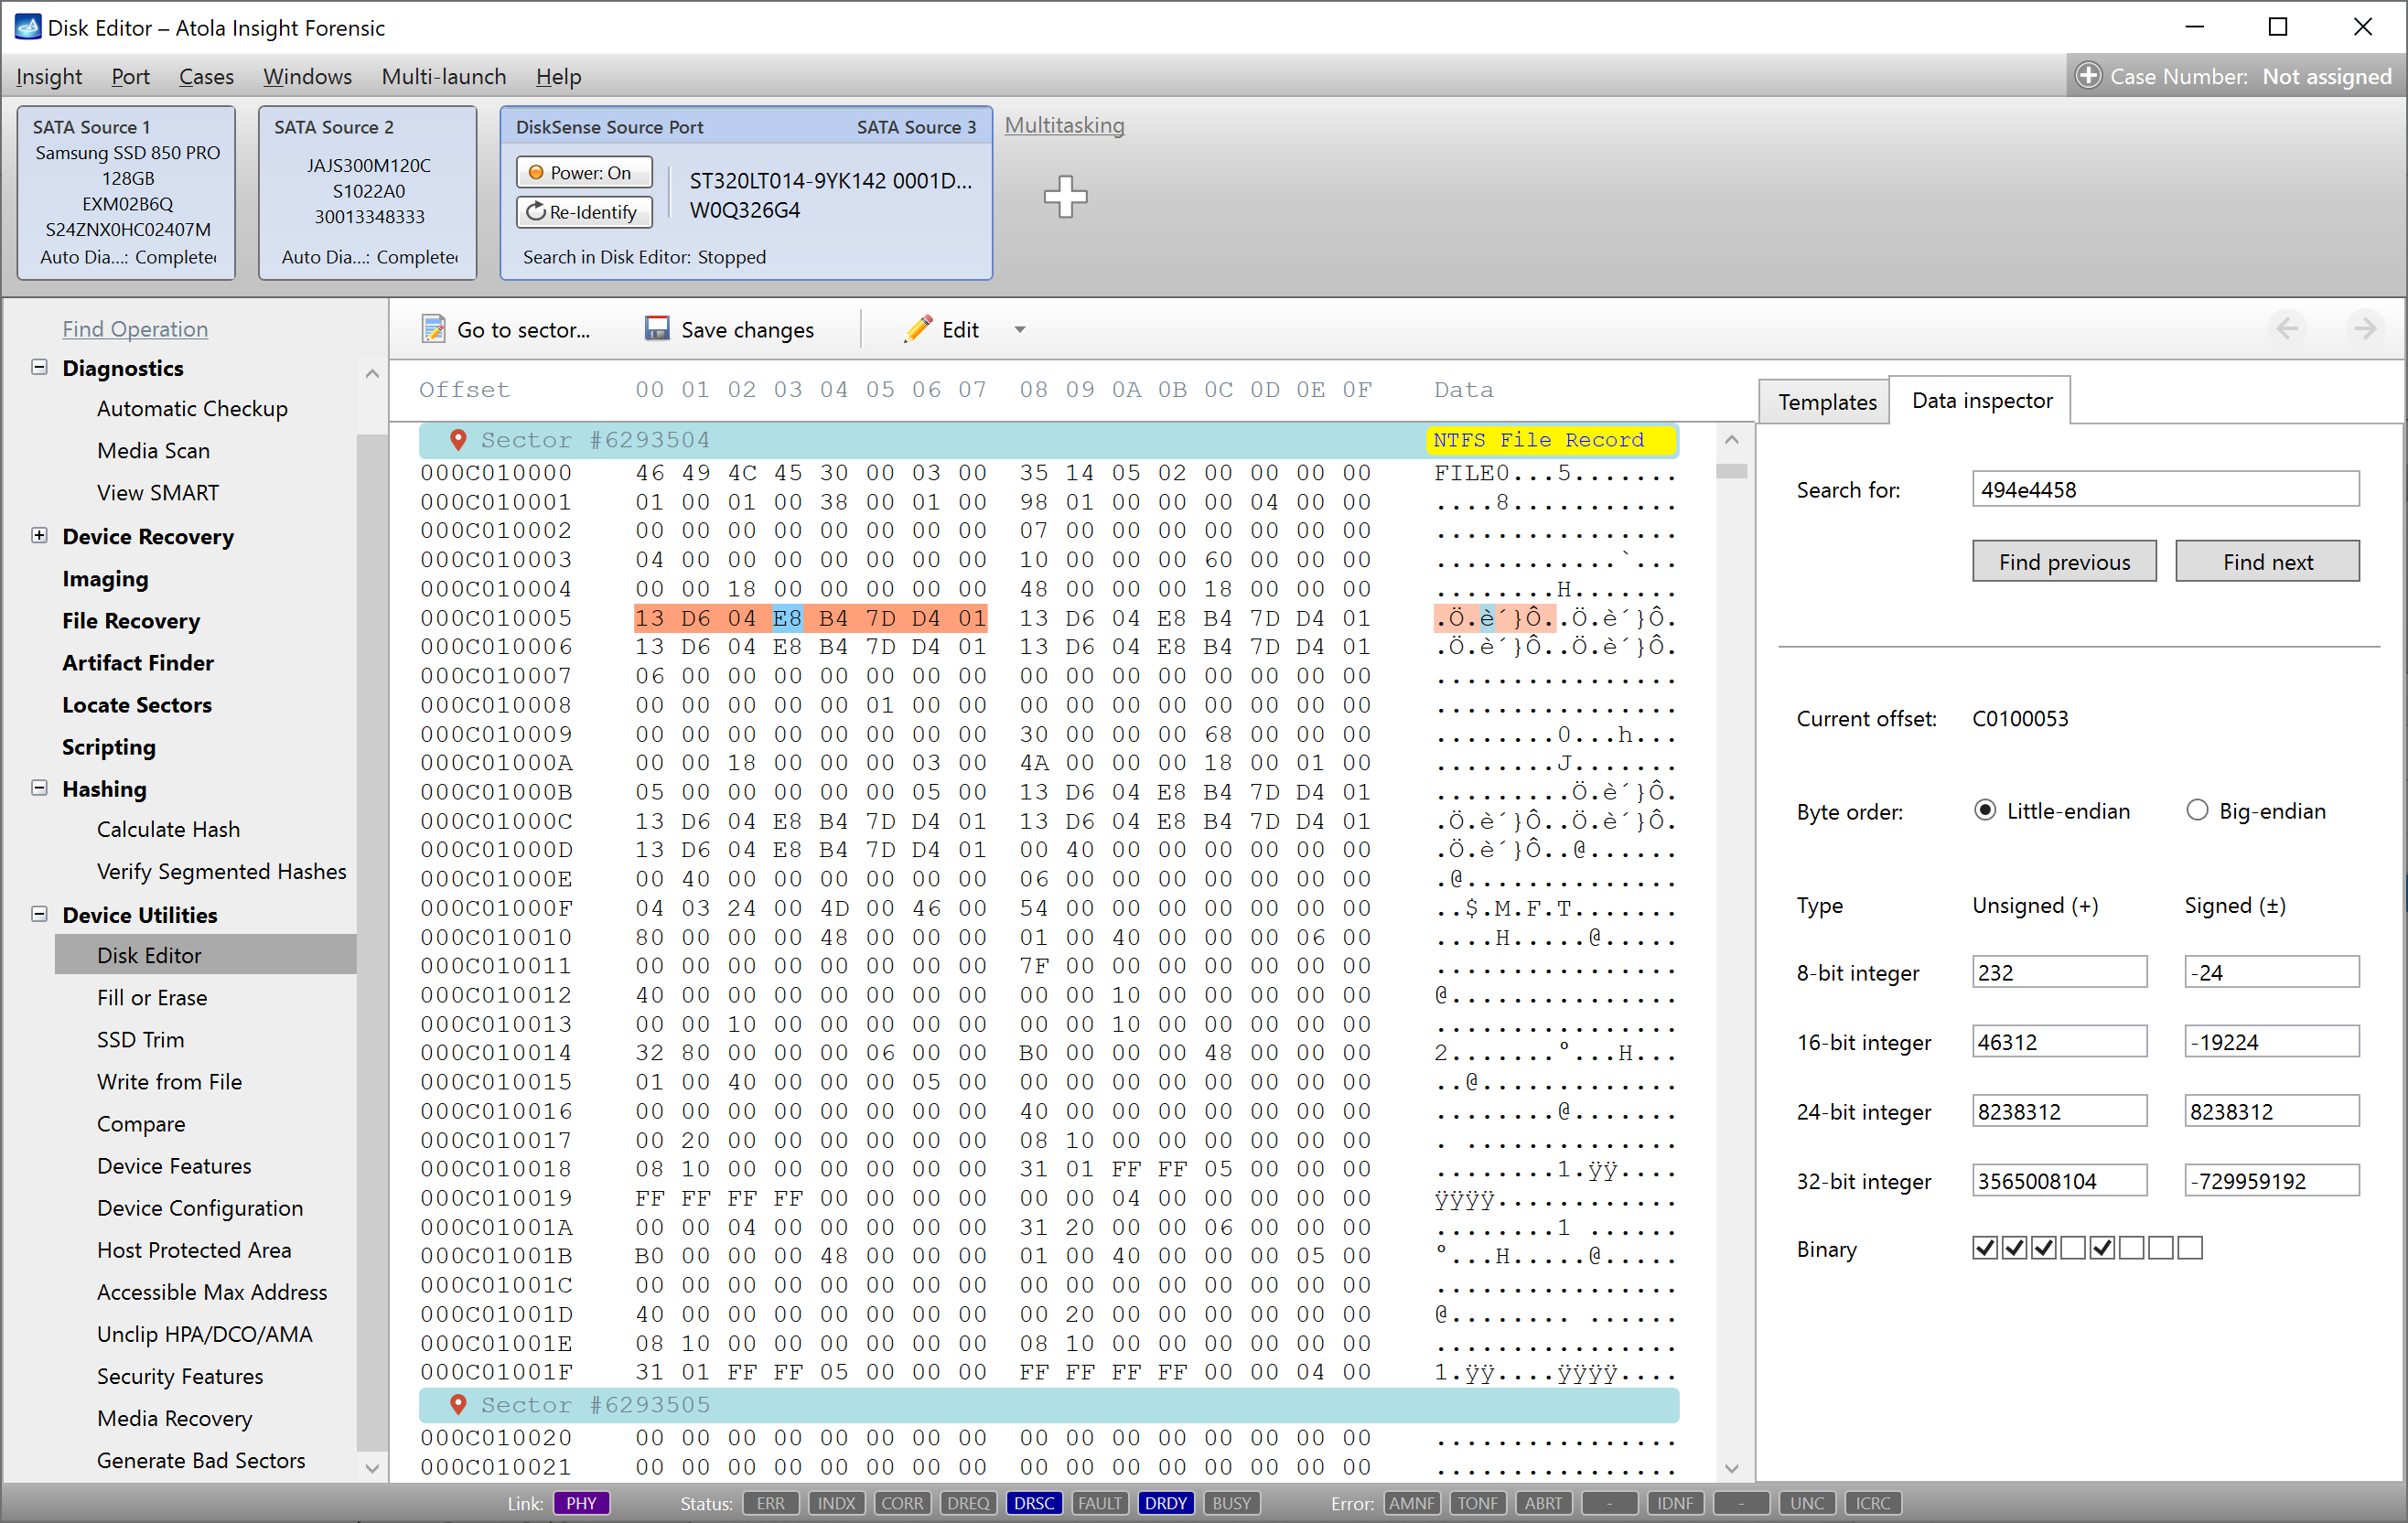
Use the script with Atola Insight Forensic
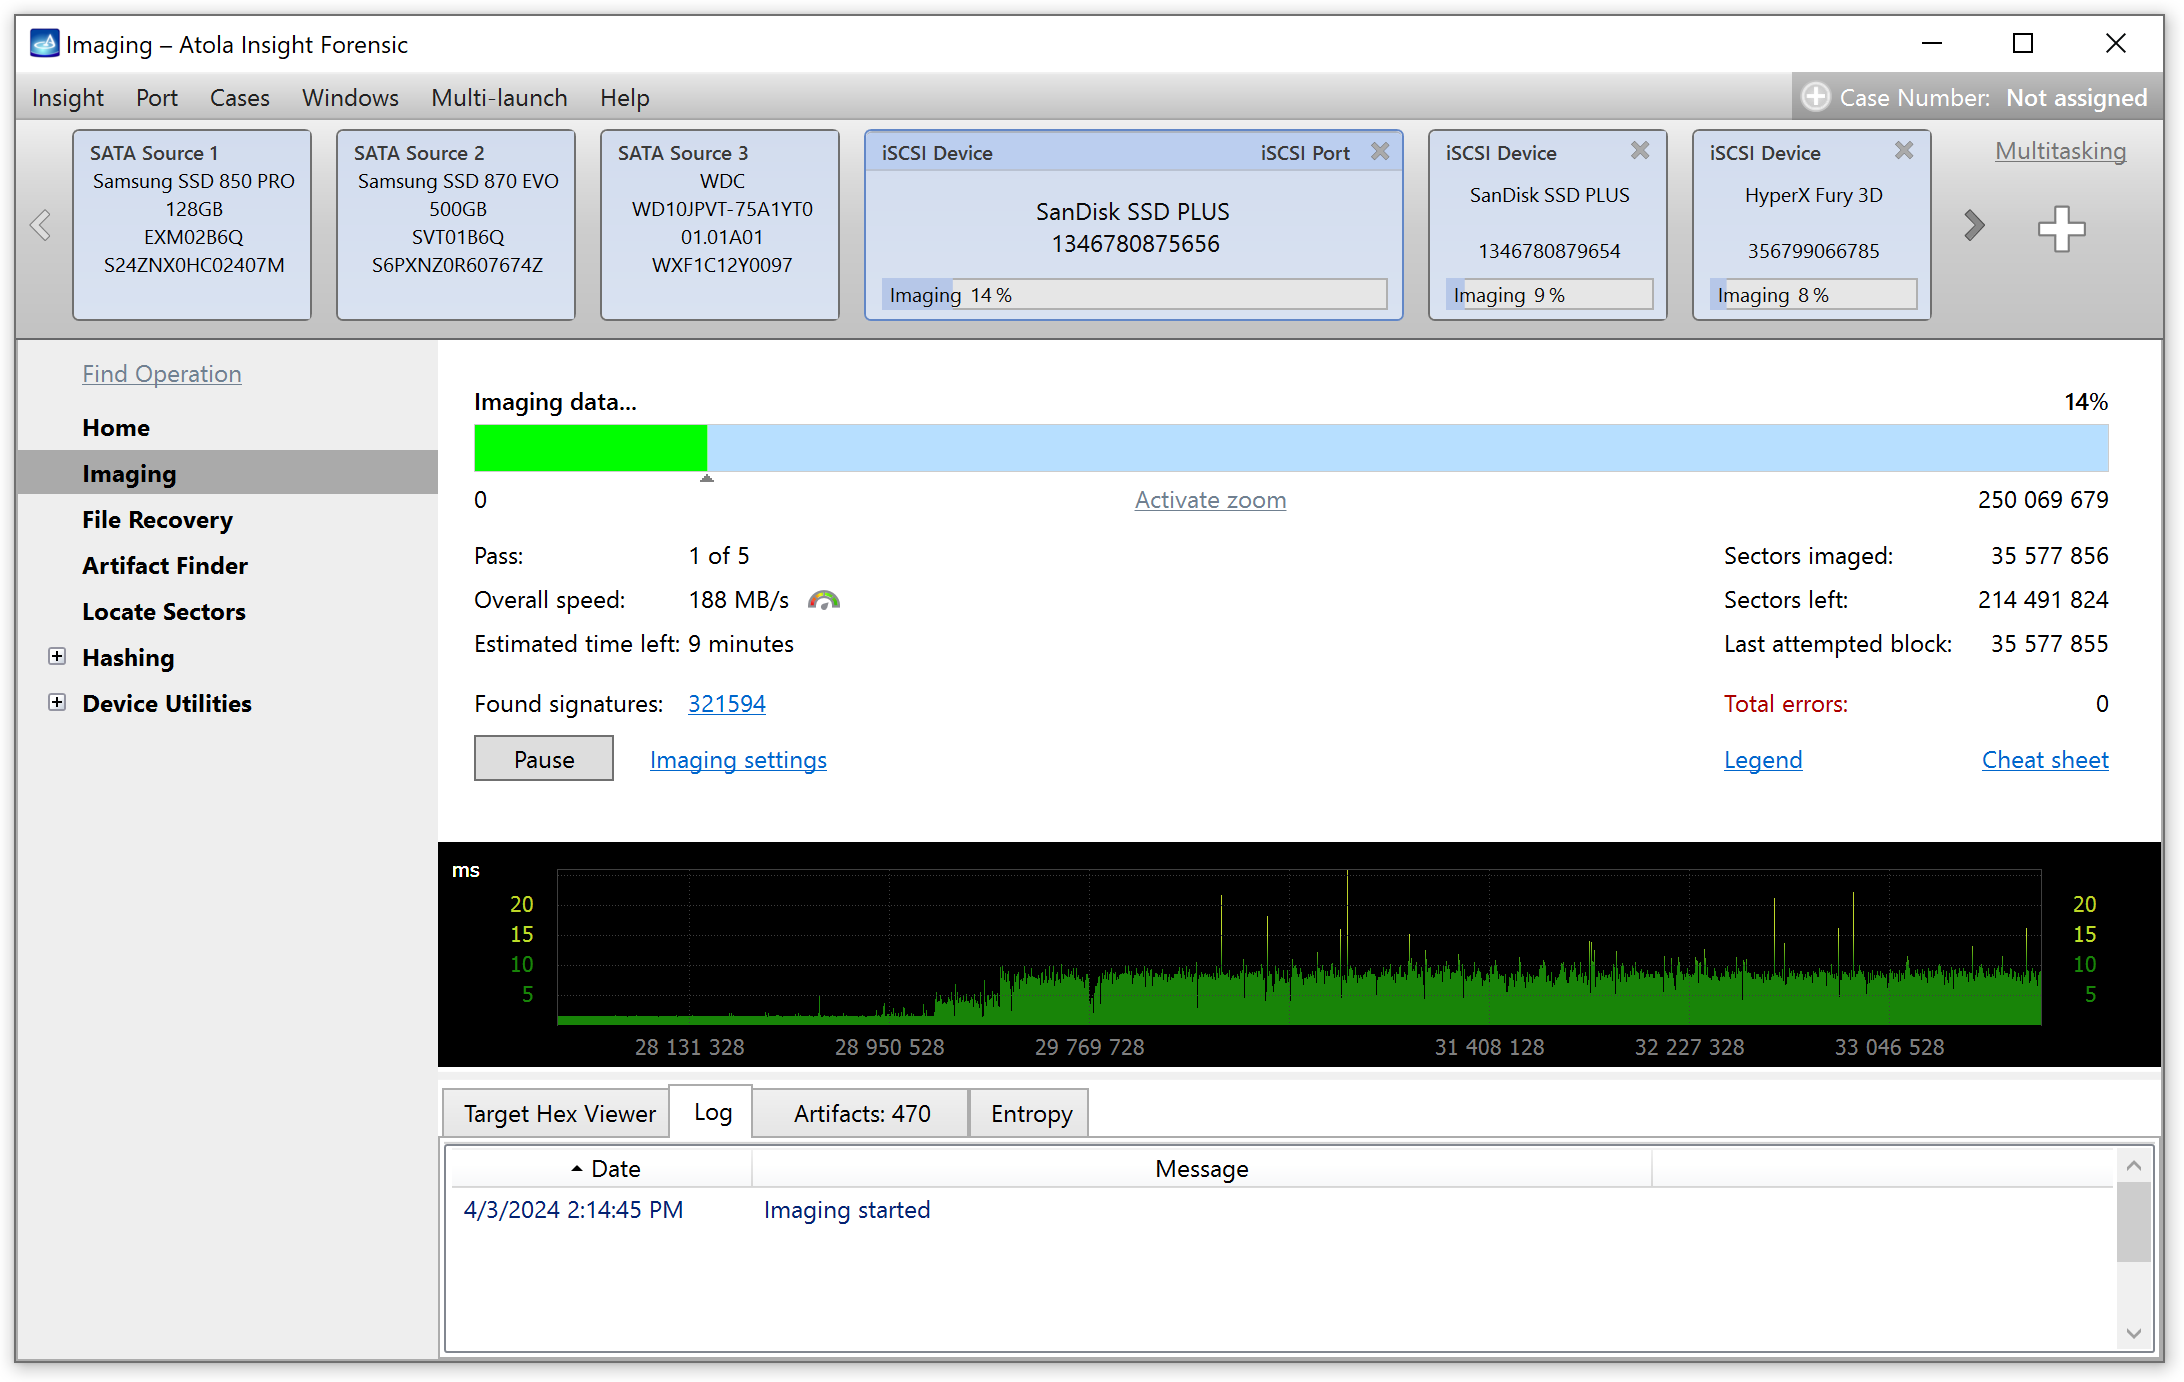
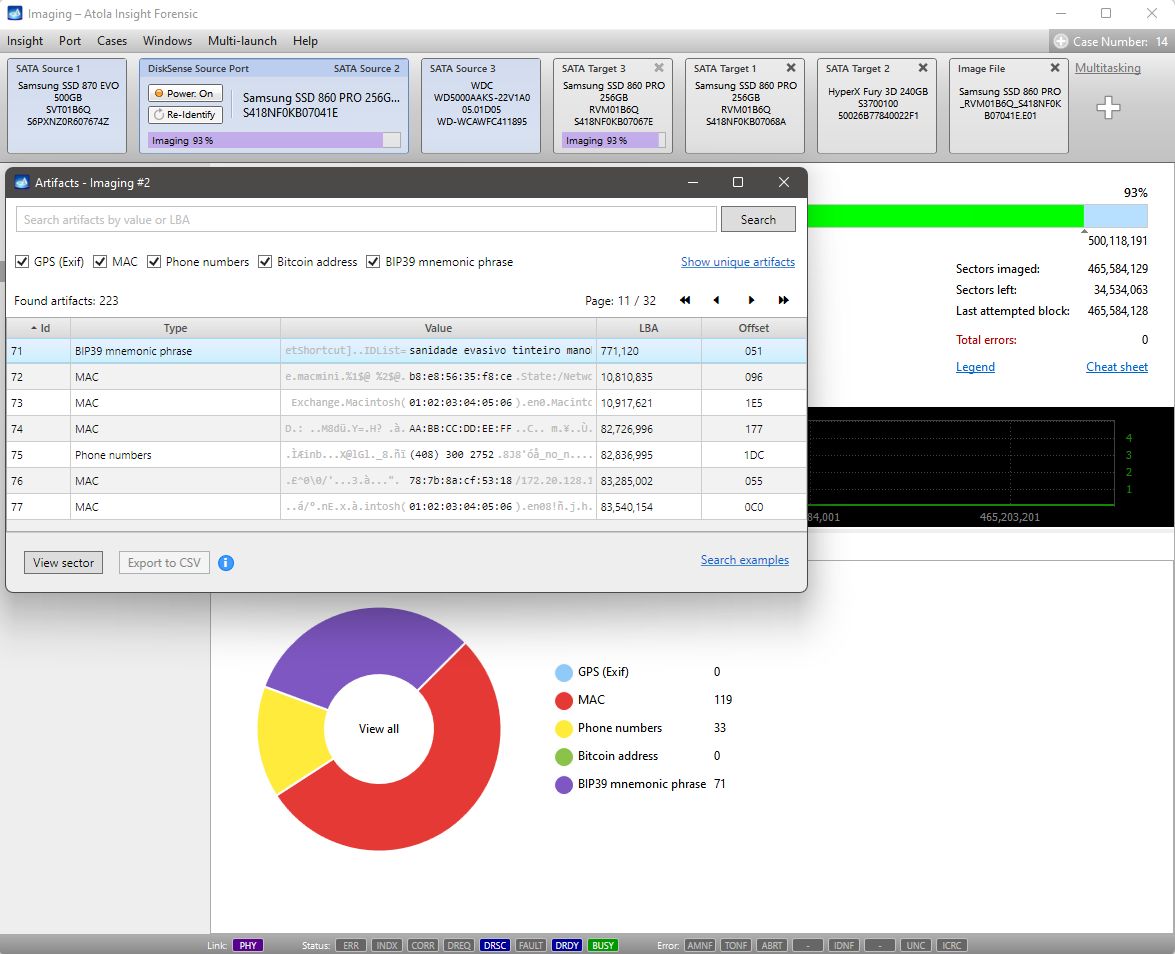
Thanks to iSCSI support in Atola Insight Forensic, our portable forensic imaging tool with damaged drive support and data recovery functions, you can add up to 3 remote network drives simultaneously and image them in parallel.
This feature is available on both DiskSense and DiskSense 2 hardware units.

- E01 vs AFF4: Which image format is faster? - July 9, 2024
- Image Synology NAS RAIDs with TaskForce 2024.6 - June 27, 2024
- Script to automatically create iSCSI targets - May 16, 2024
Sergiy Pasyuta
Sergiy is an experienced technical writer with a passion for simplifying complex concepts in user manuals. With a keen eye for detail and a knack for clear communication, he crafts articles that guide users through our products’ functionalities.