Atola Insight Forensic supports imaging into a file on an encrypted target drive, using VeraCrypt for data encryption.
After your source drive is identified by the system, take the following steps:
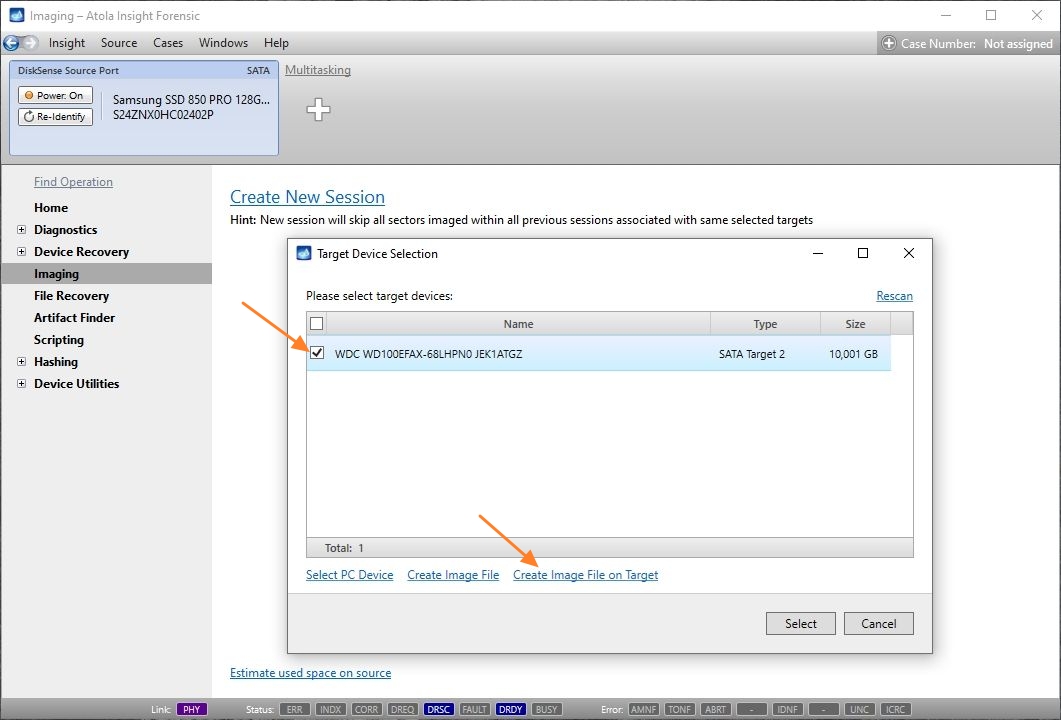
- Go to the Imaging category in the left-side menu on the home screen;
- Click the Create New Session link to launch an imaging session;
- Tick your target device;
- Click the link Create Image File on Target.
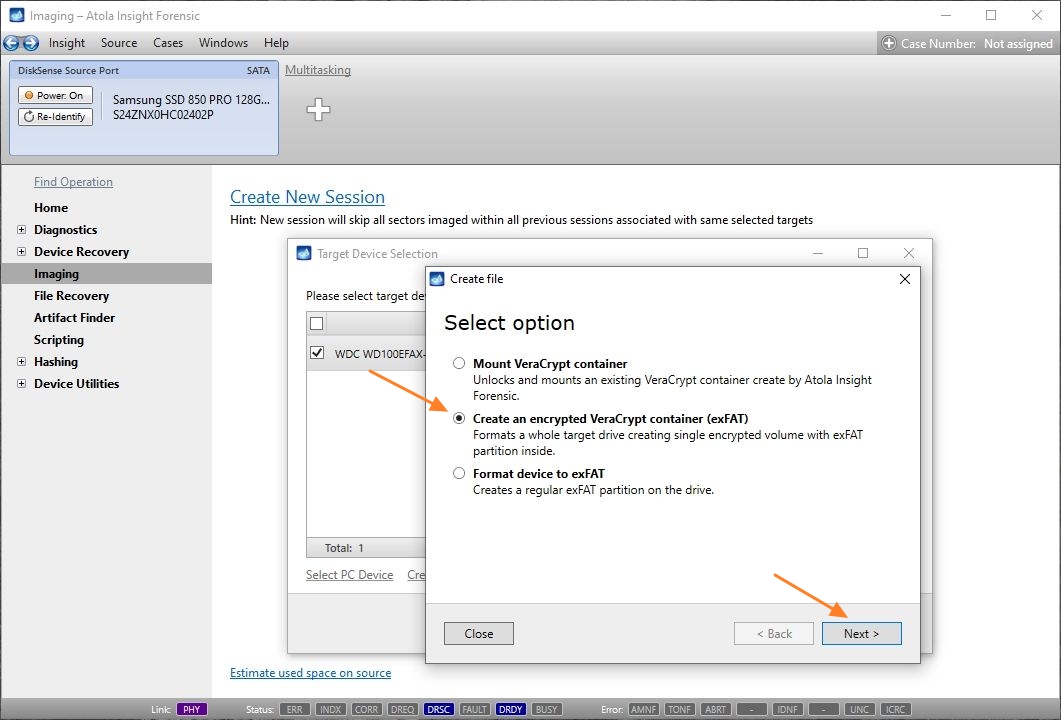
5. In the pop-up window, select Create an encrypted VeraCrypt container (exFAT) option and click the Next button.
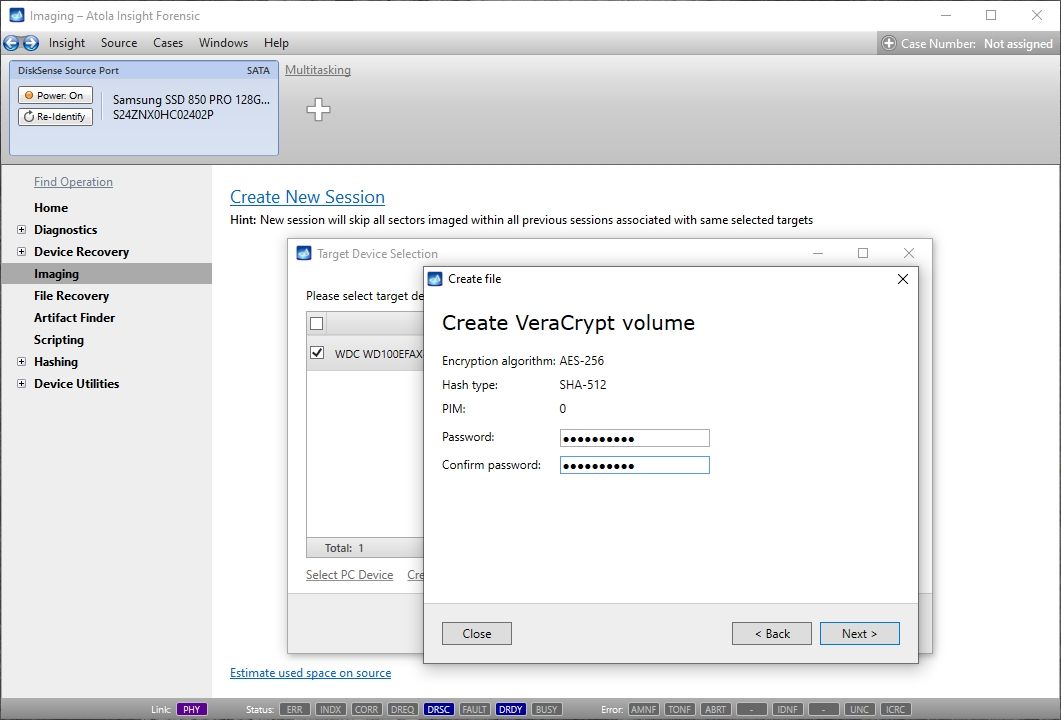
6. To complete the creation of a VeraCrypt volume, enter the password.
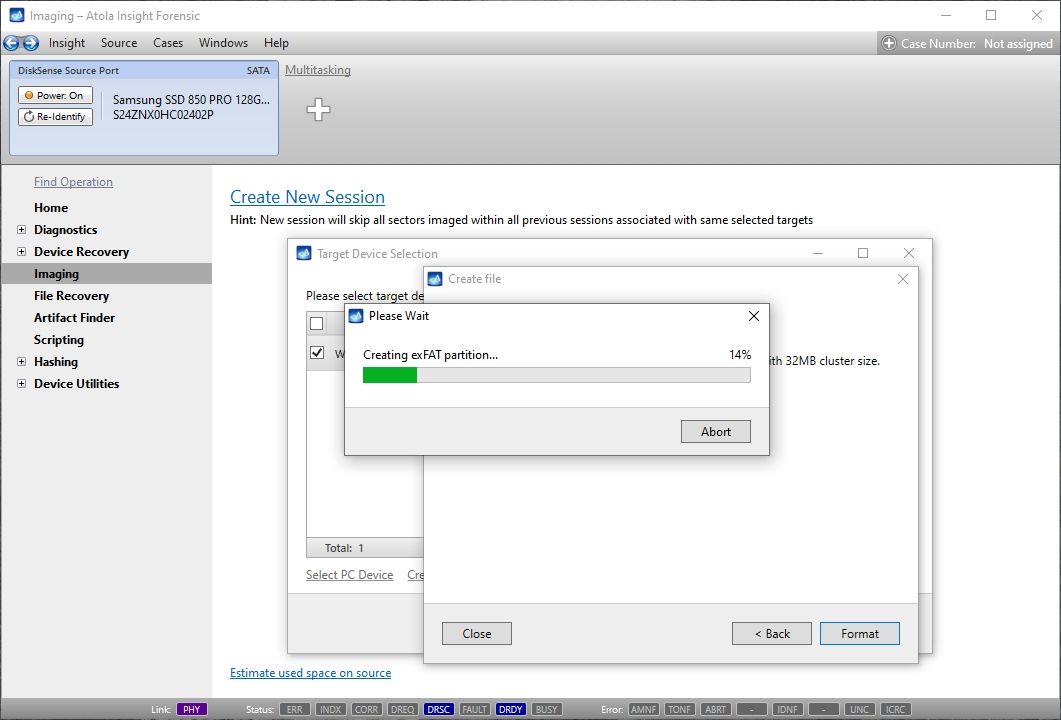
7. Enter YES and click Format to confirm formatting the drive to create the encrypted partition.
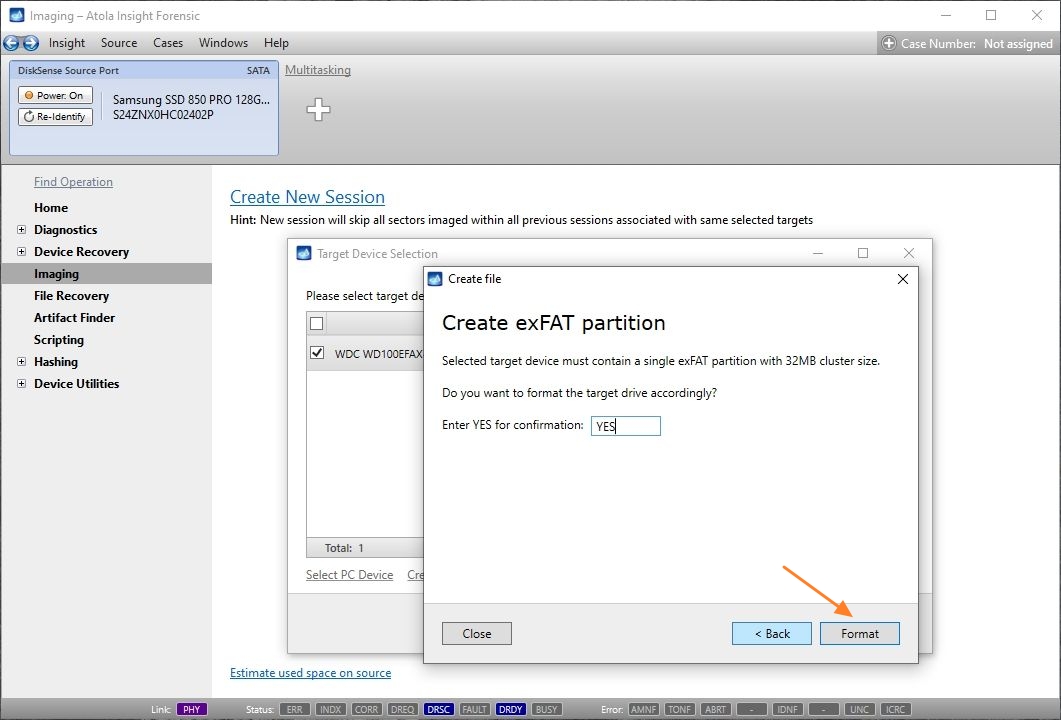
Formatting will take a few seconds.
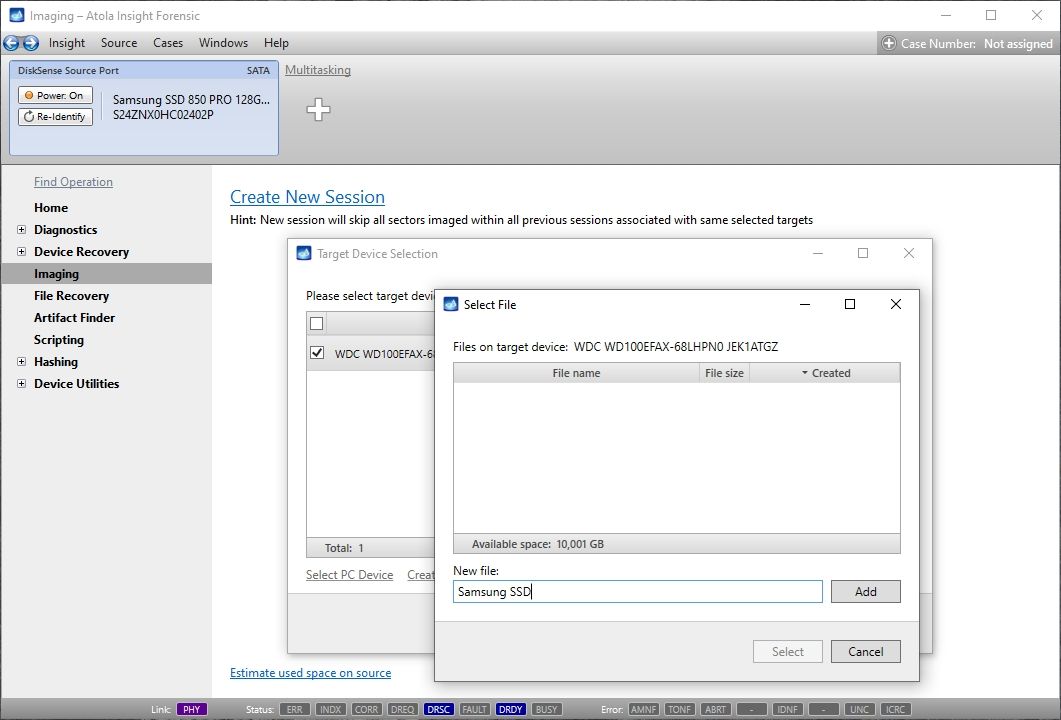
8. Name new image file, click the Add button and then click Select.
9. Specify the settings for this imaging session and click the Start Imaging button.
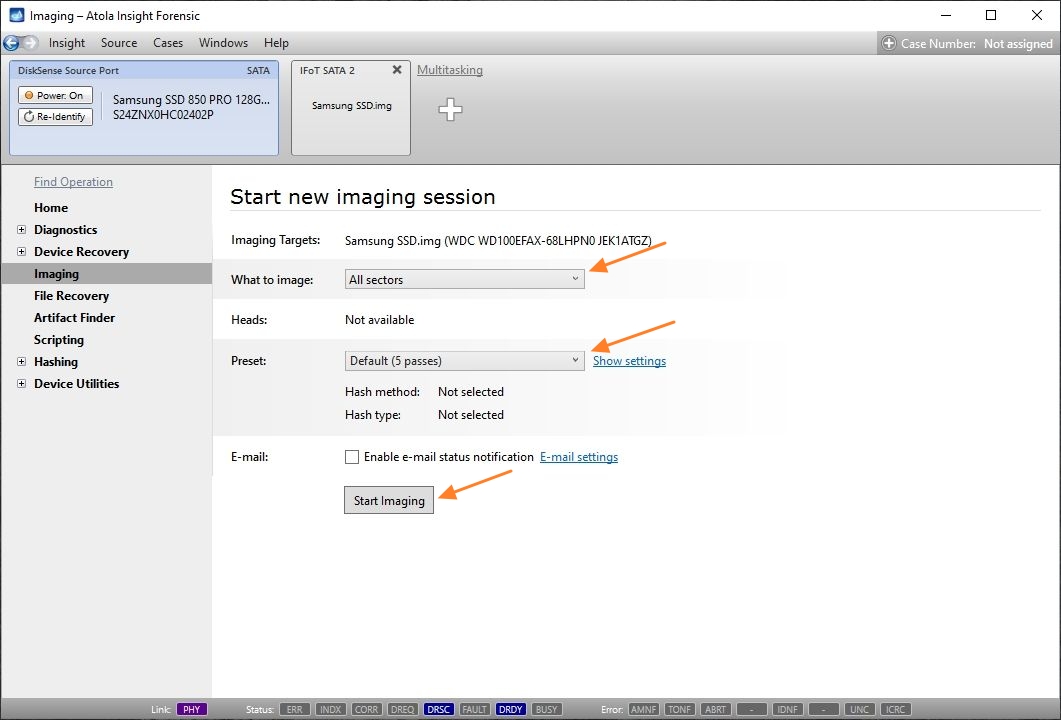
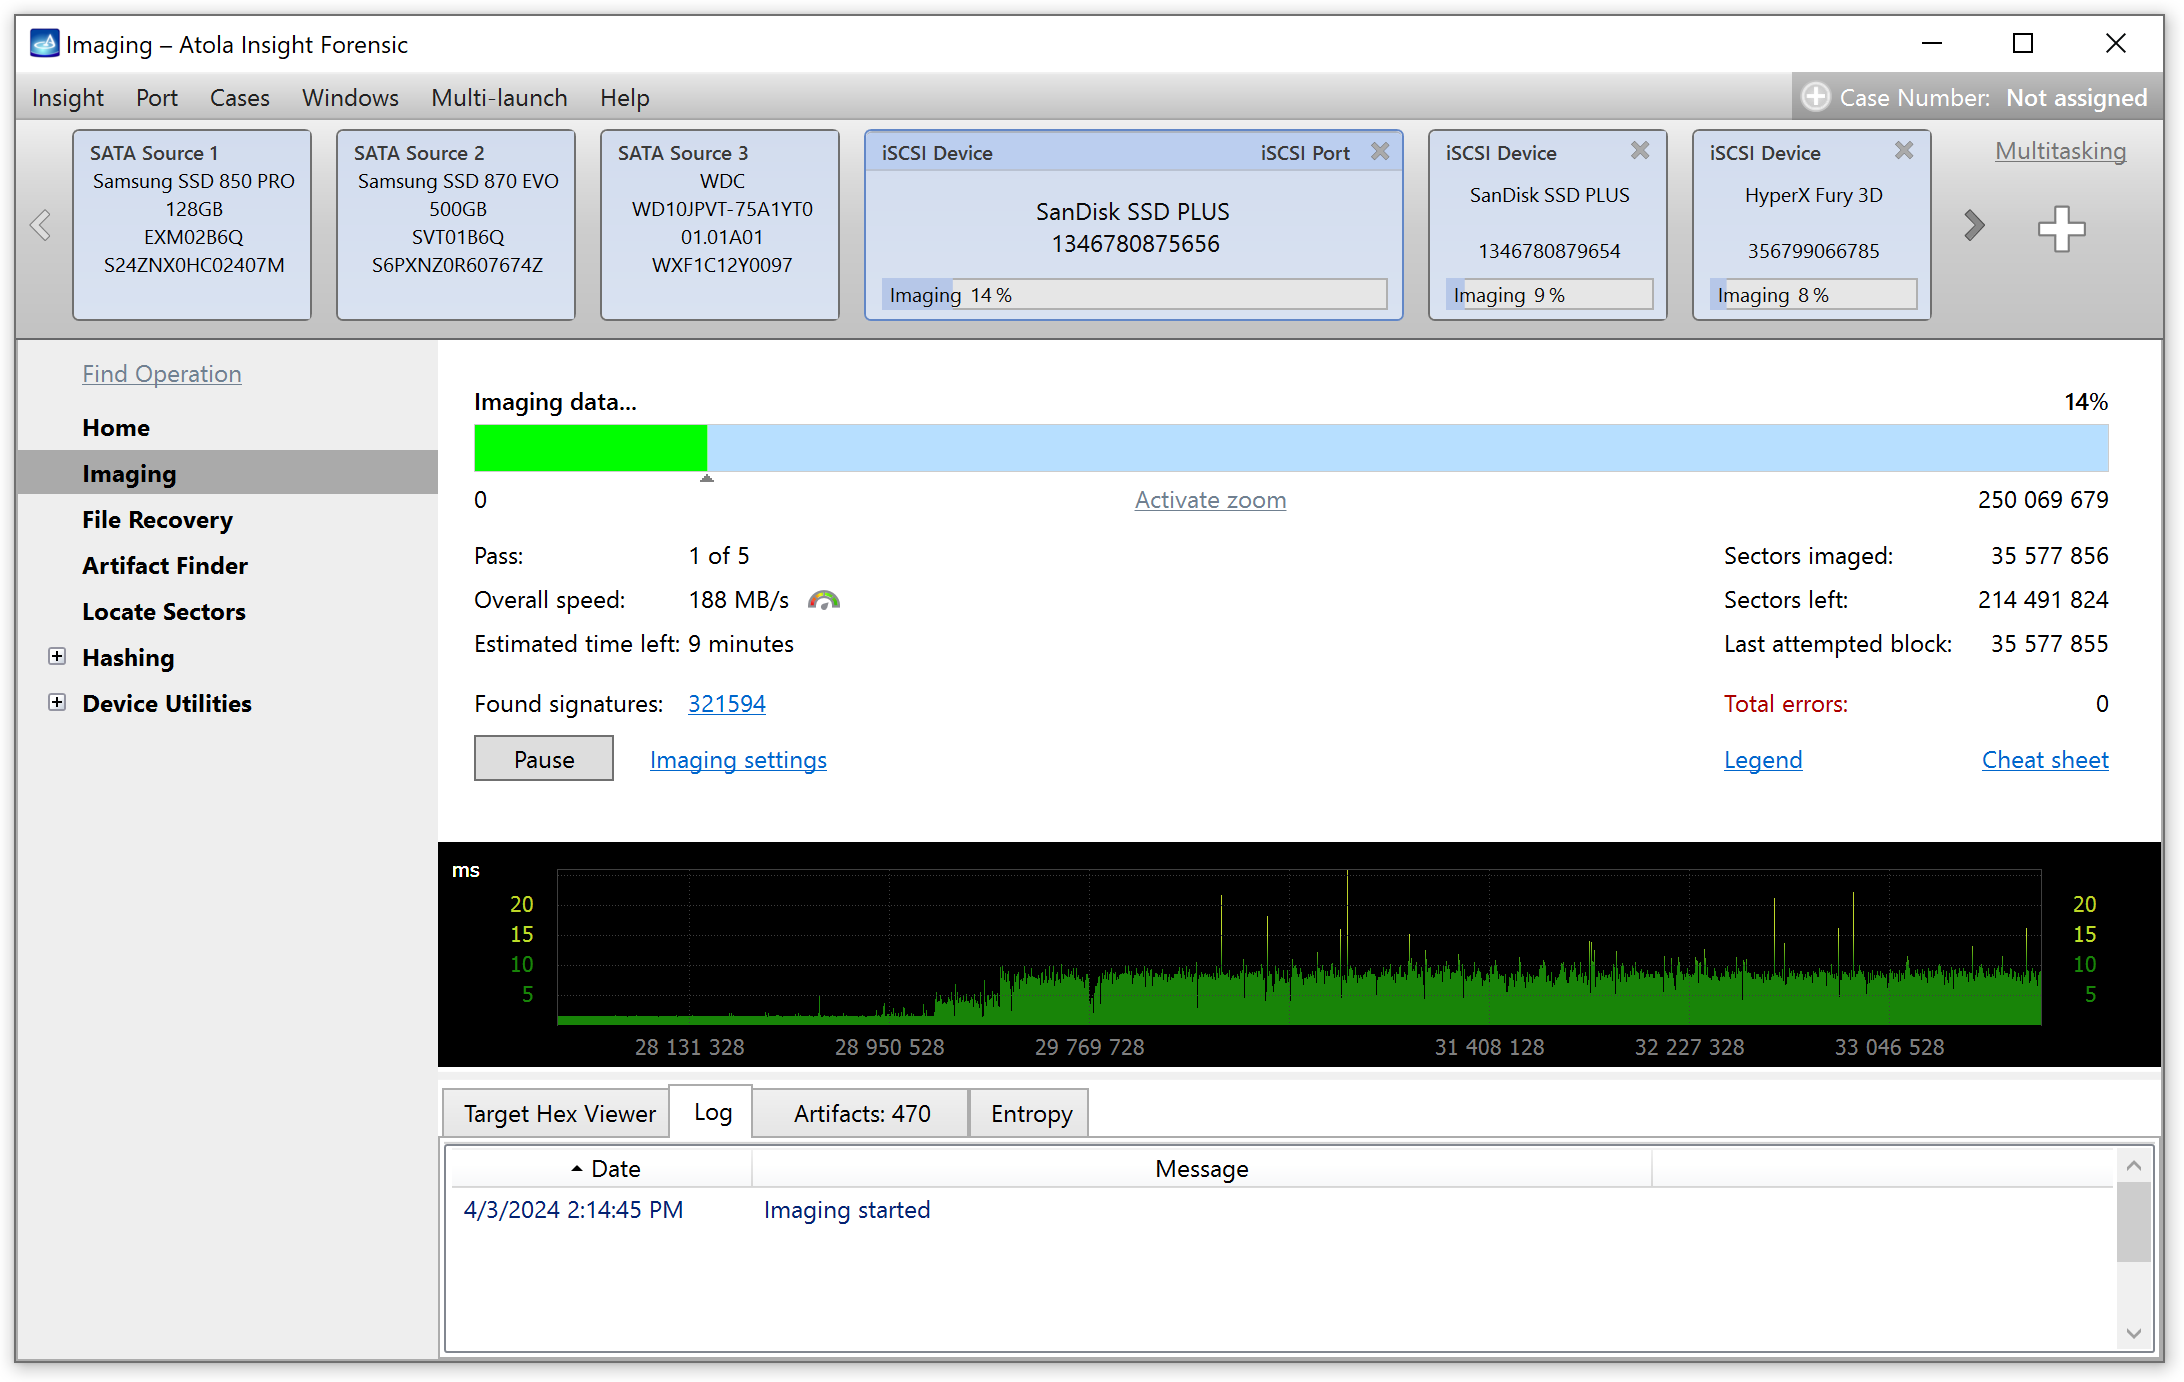
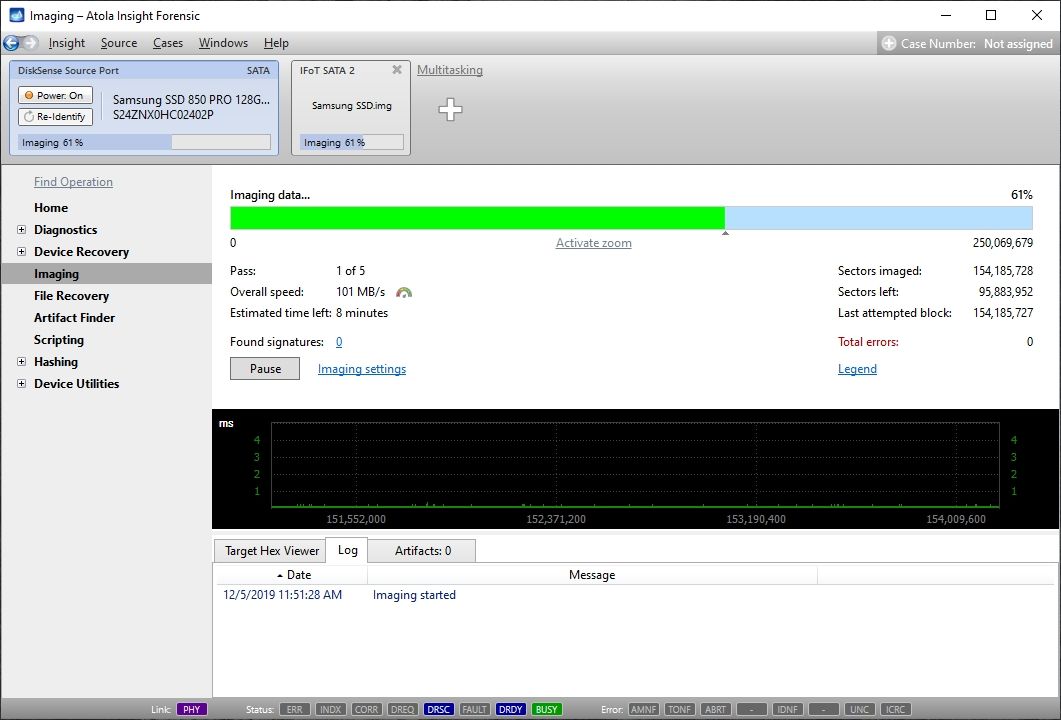
After you click the Start Imaging button, Insight will start imaging data into the file on your encrypted target.
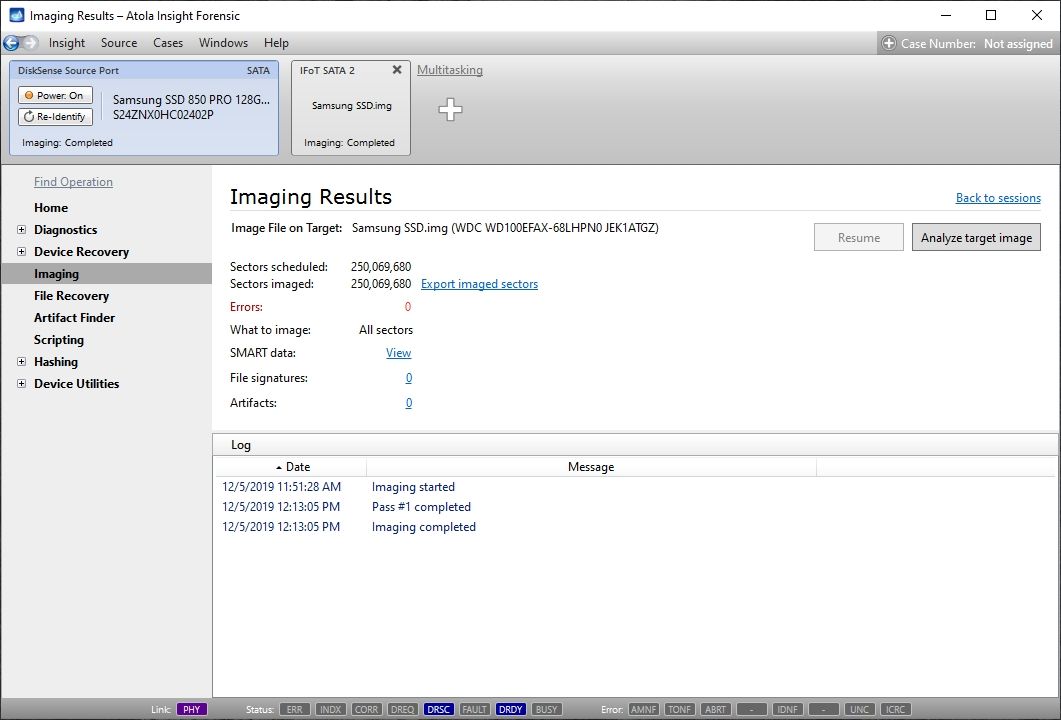
Upon completion of the imaging session, check the Imaging results screen.
Data Extraction:
- To find the VeraCrypt volume and the imaged file, plug the target drive into your computer;
- Use VeraCrypt software to safely access encrypted data from your drive;
- Select the drive label (A, B, C, etc.) on which you want the volume to be mounted;
- Click Select device button;
- In the pop-up window select your encrypted volume;
- Click the Mount button.
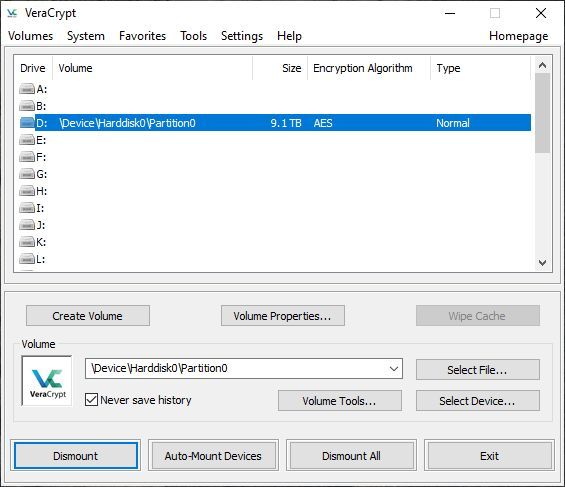
Now you can view the partition name, size and encryption algorithm.
7. Next, use the password set prior to the imaging session to get access to the encrypted volume.
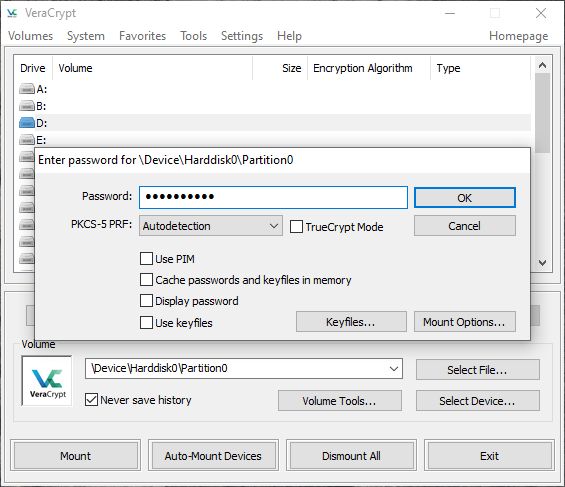
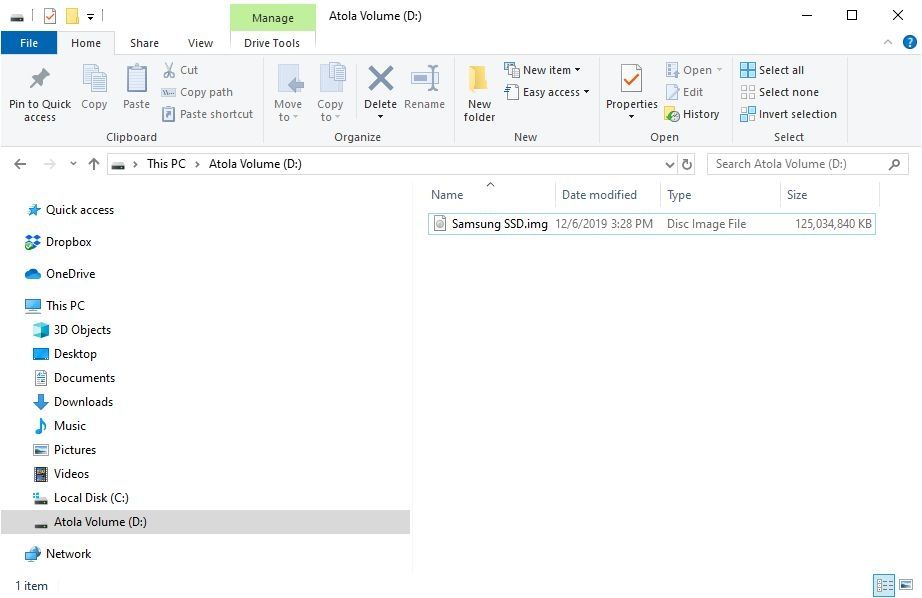
Once you have entered the password, the volume will be mounted and you can access it from Windows Explorer and use the image for subsequent operations.

- RAID imaging made easy with TaskForce - May 3, 2022
- Image. Anything. Fast.What makes TaskForce the ultimate forensic imager - February 9, 2022
- RAID configuration detection in Atola TaskForce - April 7, 2021
Olga Milishenko
Olga believes that marketing is about letting the target audience fall in love with your product. She takes pleasure in catching the coolest features of Atola imagers with her camera.